Installing TerraExplorer Pro
To install TerraExplorer Pro:
Note: On some operating systems, administrative privileges may be required.
1. If you have an old version of TerraExplorer Pro running, close it before continuing with the installation.
2. On your computer, browse to the setup.exe file and double-click. The setup program checks for an existing TerraExplorer Pro on your computer. If there is another version of TerraExplorer Pro installed already on your computer, a dialog is displayed confirming that you want to uninstall the current version.
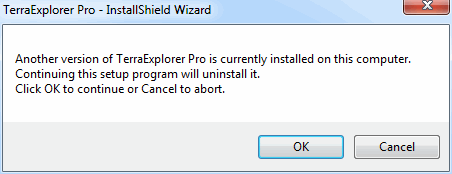
InstallShield Wizard
3. Click OK to uninstall. The InstallShield Wizard is displayed.
4. Click Next. The License Agreement is displayed.
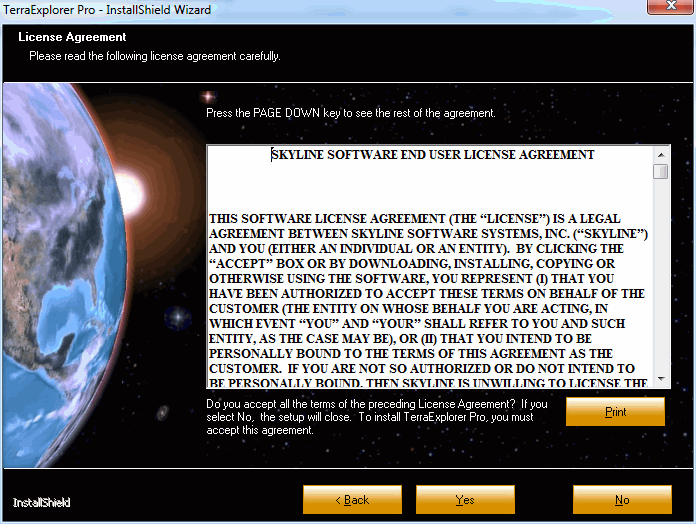
License Agreement
5. Click Yes to agree to the license agreement terms and continue the installation. The Customer Information dialog is displayed.
Note: This dialog is displayed only for users with administrative privileges.
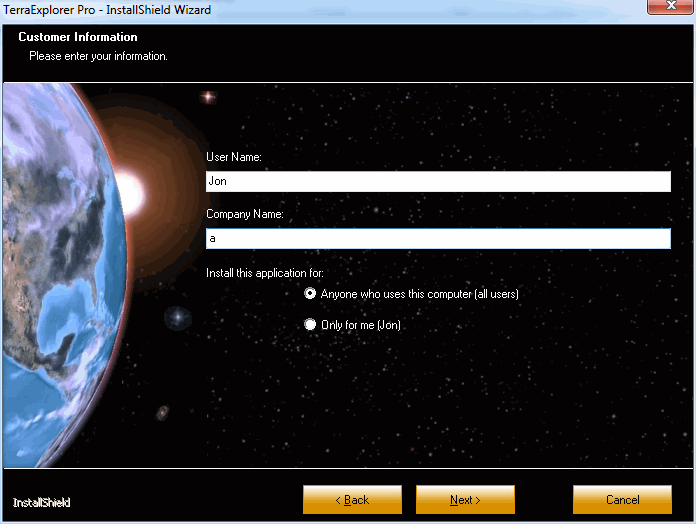
Customer Information Dialog
6. Enter the required customer information, and click Next. The Choose Destination Location dialog is displayed.
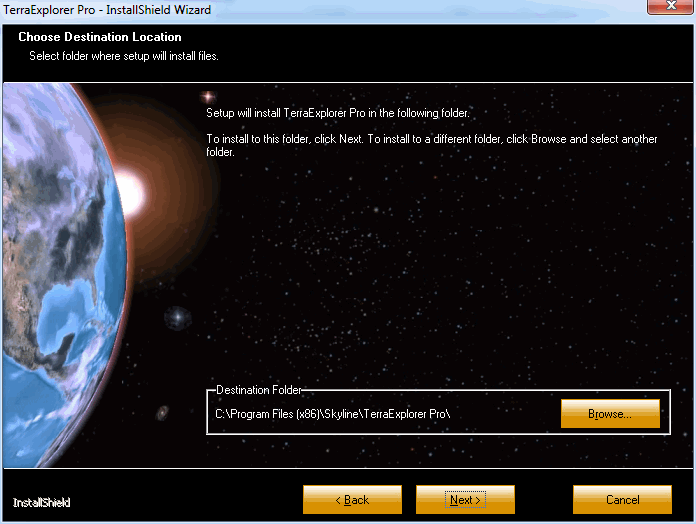
Choose Destination Location Dialog
7. Browse to the desired location for the TerraExplorer Pro installation, and click Next. The Ready to Install the Program dialog is displayed.
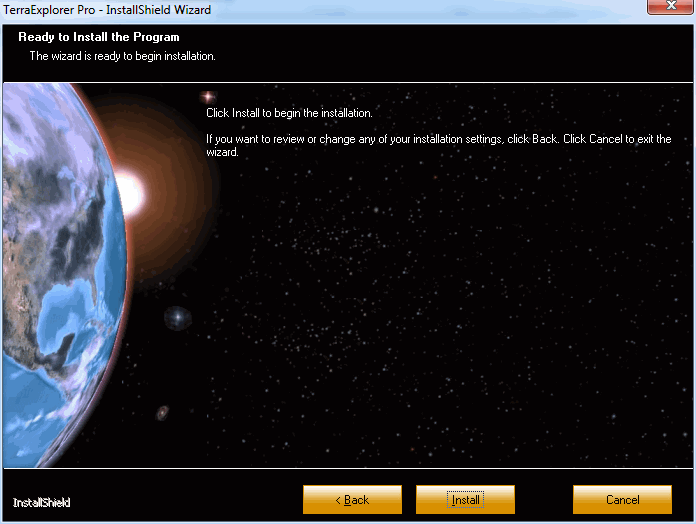
Install Dialog
8. Click Install. The installation copies the files to the destination folder.
Note: The .FLY file extension is associated with the last TerraExplorer or TerraExplorer Pro application you have installed. If you want to change the association, open the application you want to associate the .FLY file extension with, click TerraExplorer Options, and on the General tab, click Set as Default. If you wish to keep using TerraExplorer as your default viewer for .FLY files you should reinstall TerraExplorer after installing TerraExplorer Pro.